Tutorials • Commercial
Setting the nameservers from the Hostico client account
In this tutorial, we will present the method for changing (updating) the nameservers in the Hostico client account.
Views 4639Updated 9 luniPublished on 22/05/2018by Mark D.
Introduction
In this tutorial, we will present the method for updating (modifying) the nameservers from the Hostico client account.
Requirements
- A Hostico client account
- An active domain
Steps
- The first step is to log in to the customer account and access the Domains.
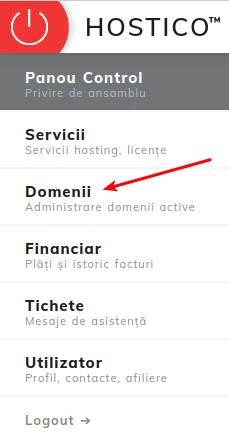
- On the opened page all owned domains will be displayed (both expired and active ones).
- The domain to which the modification of the NS (nameservers) is desired will be accessed.
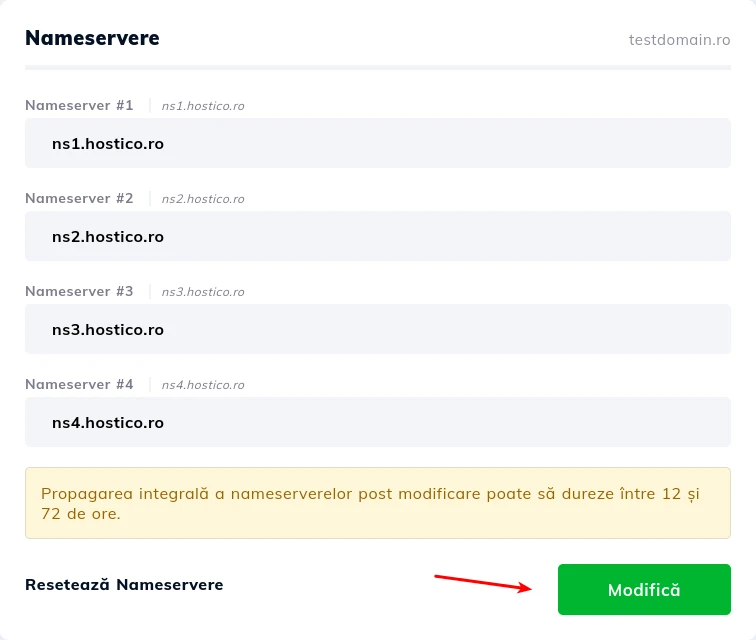
- On the right side, the box for managing nameservers will be displayed, which contains four text fields. From here, the desired nameservers can be inserted, or the existing ones can be modified as needed.
- After completing the fields, to save the changes made, click on Edit.
Note
- After changing the nameservers, the propagation process can take up to 24 hours, during which time your site may be non-functional.
- The vast majority of domains require at least two nameservers to be linked with the hosting, however, exceptions can arise (for .de domains, a minimum of 3 NS is required).