Tutorials • Cloudflare
Editing an A record in the Cloudflare control panel
This article will describe the steps necessary to edit an A-type DNS record from the Cloudflare control panel, in case the protection is provided by setting their custom nameservers.
Views 1747Updated 2 aniPublished on 06/06/2018by Sebastian S.
Introduction
- There are two ways to activate the service: by setting the Cloudflare nameservers on the domain and managing the DNS zone from the Cloudflare administration panel, or by activating the service from the hosting cPanel, without needing to make any nameserver changes to the domain.
- If protection is activated by setting the nameservers on the domain, the DNS zone provided by Cloudflare will be used (the DNS zone on the server where the site is hosted will no longer be used and queried upon access). Additions, deletions, or edits to the DNS zone will be made in the Cloudflare account, not on the server where the site is hosted.
- In this tutorial, we will present the steps necessary to edit an A record type DNS entry.
- As an example, we will change the DNS record related to the server's IP from where we want the site to be loaded. The change is useful in case we change the dedicated IP of the site's hosting (the DNS zone in Cloudflare will need to be updated with the new IP).
Requirements
For completing the steps, we will need the following:
- The IP to which we want to direct the site's traffic.
- An active account with Cloudflare.
Steps
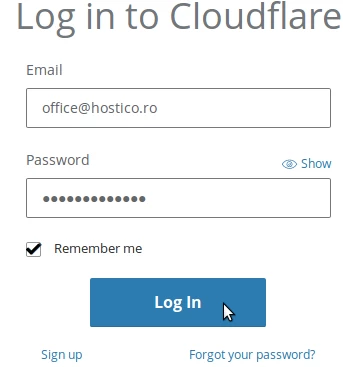
- We will log into the Cloudflare account by accessing https://dash.cloudflare.com/login
- We will click on the site for which we want to make the DNS edits.
- On the next page, information related to the domain will be loaded.
- We will click on DNS from the blue symbol bar at the top of the page.

- The domain's DNS zone will be loaded.
- In the list, we will look for the A record DOMAINNAME points to IPADDRESS.

- In our case, this DNS record directs the site to the IP 77.81.2.1.
- For editing, we will simply click on the IP after points to.
- We will enter the new IP. Then, we will click anywhere outside the edit box to save.

- After a period of a few hours of propagation, the site will load from the server associated with the newly entered IP.