Tutorials • WordPress
Manual WordPress migration
Find out how to manually migrate a WordPress installation between hosting accounts, step by step, to ensure a smooth transition of your data.
2
Views 2007Updated 1 anPublished on 22/10/2018by Florin P.
Introduction
- In this tutorial, we will show you how to migrate a WordPress installation from one account to another.
Requirements
- Access to the cPanel accounts of the two hosting accounts, the source account, and the destination account.
Steps
- We log in to the source cPanel account from which we will migrate the data. In our case, the account is hostico.ro and we will migrate the data to the destination account hostico.com.
- After logging in, we go to the Files section, and then click on File Manager.

- We select the root directory of the domain hostico.ro, in our case the directory is public_html, and then click on Compress to generate an archive of the files.

- We choose the archive type, zip, and then click on Compress File(s).

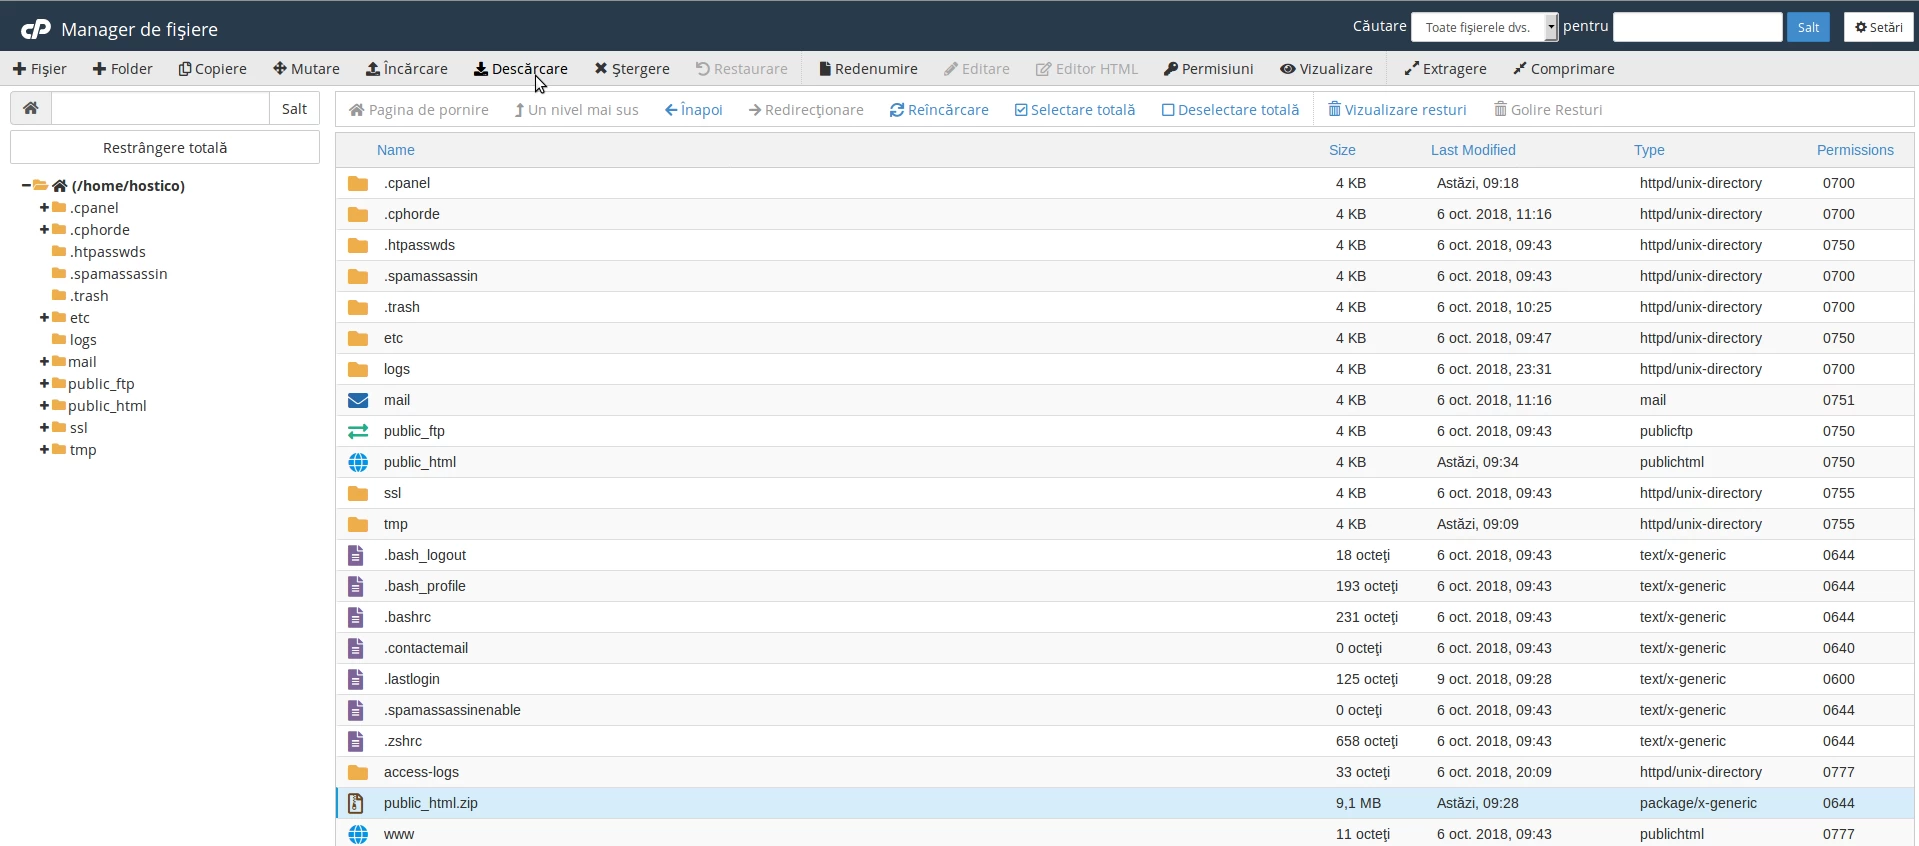
- After creating the archive, we will download it locally either through the file manager or an FTP client. In our case, we will use the File Manager. We select the archive and then click on Download.
- After we download the files, we will export the database using phpMyAdmin from the cPanel account.
- The database used by our site can be seen in the configuration file of the WordPress installation. We edit the wp-config.php configuration file by selecting it, and then click on Edit, Edit in the next window.


- The name of the database is entered in the field below.

- We access phpMyadmin from the Databases section, and here we will select the hostico_wp database from the left side of the screen.

- We will export the database by clicking on Export, then click on Go on the next page, and we will save the database locally on our computer.


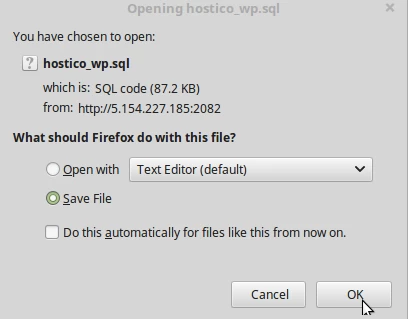
- At this moment we have the files and the database downloaded locally on our computer. Now we will proceed to upload the data to the destination account hostico.com.
- We log in to the cPanel account hostico.com, go to the Files section, and then click on File Manager. Here we will select the root directory of the domain hostico.com, public_html, and we will upload the archive with the files and the exported database from the previous steps.

- After we have uploaded the files to the destination account hostico.com we will return to the root directory by clicking on Go Back to “/home/hosticom/public_html” .

- We will select the archive public_html.zip, and then click on Extract to unzip the files.
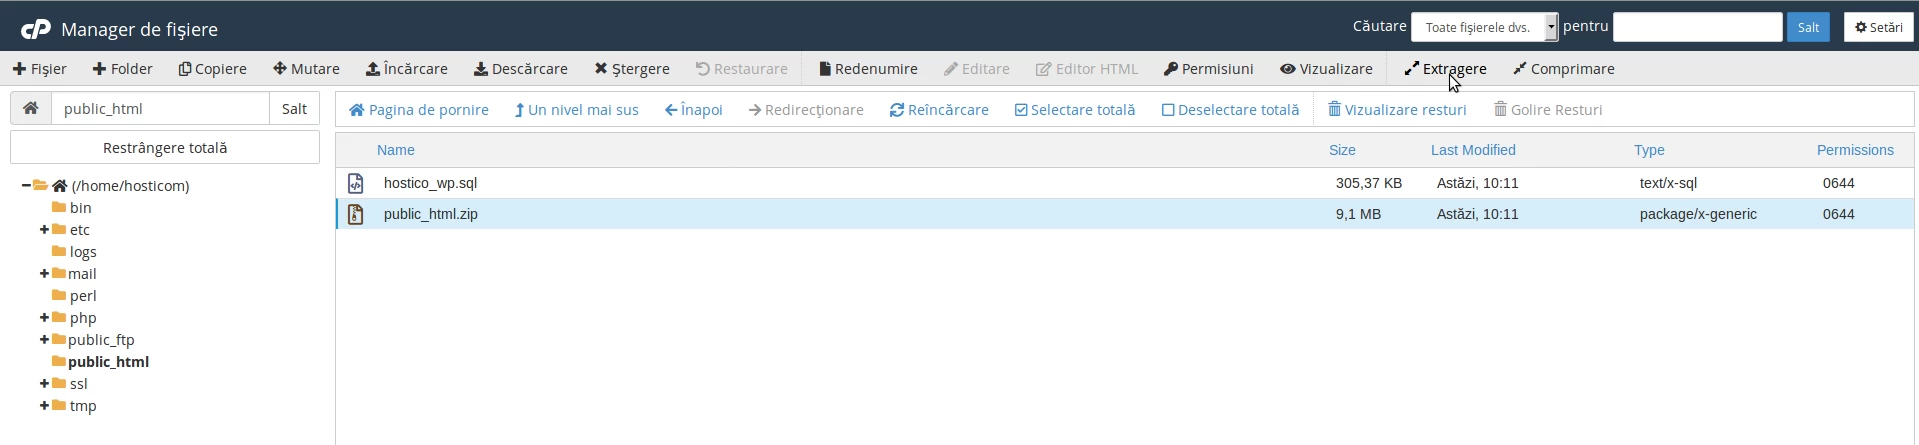

- After extracting the files, we will move them to the root directory of the hostico.com domain, public_html.
- We select the files, and then click on Move.

- In the new window, we will modify the path where we move the files, the root directory of the domain hostico.com, public_html.

- The next step is to create a database and a user, a database in which we will import the exported database from the source domain hostico.ro.
- After creating the database, we will import the source domain's database into the newly created database.
- We go to the Databases section, then click on phpMyadmin and select the newly created database (hosticom_com) by clicking on it on the left side of the screen.
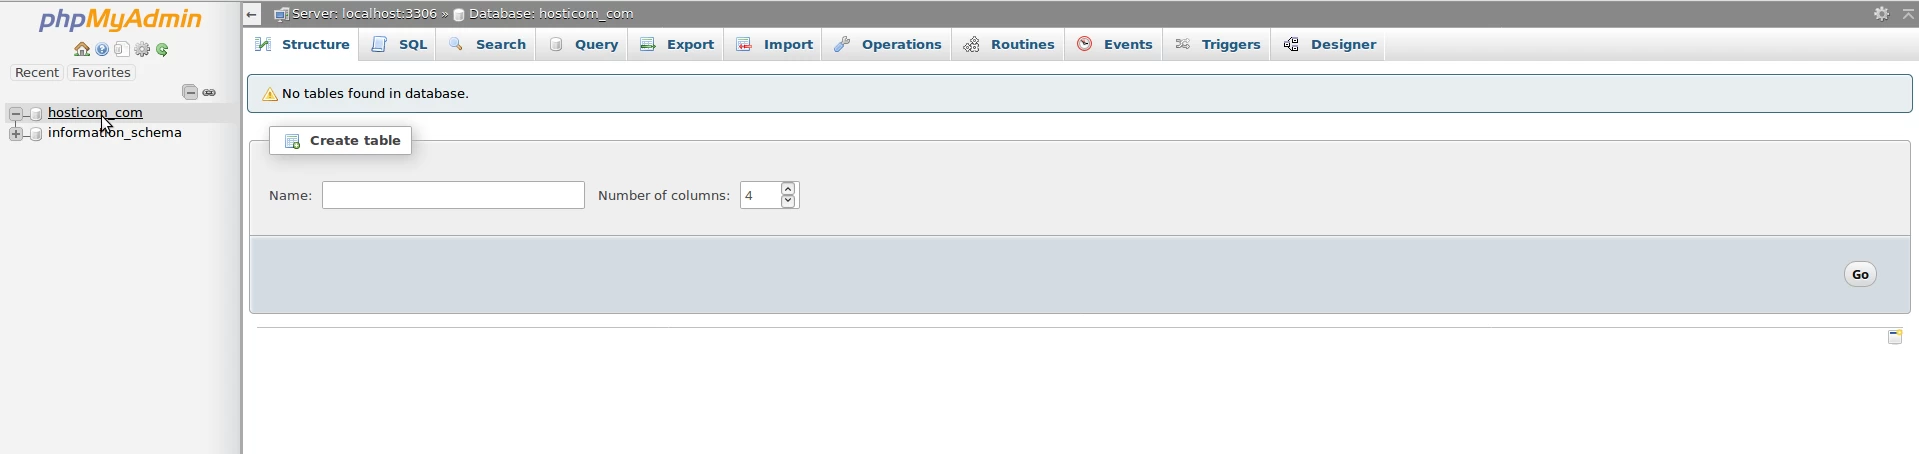
- Then we will click on Import, click on Browse, and select the locally saved database to import it.

- After we click the Go button at the bottom of the page to import the database.

- On the screen, we will have a confirmation message regarding the database import.

- The last step after copying the files into the root directory of the destination domain, public_html of hostico.com, and importing the database is to modify the WordPress configuration file wp-config.php with the new data: database, user, and password.
- We will access the Files section, File Manager, access the public_html directory and edit the WordPress configuration file wp-config.php where we will modify the fields below with the new data: database, user, and password with those created earlier and save the changes made.


- We save the file and access hostico.com in the browser.
Note:
- The migration may require additional steps depending on the installed extensions/themes - this tutorial only presents the basics necessary for migrating a WordPress site.