Creating a database in the ISPConfig control panel.
Learn how to create a MySQL database in the ISPConfig control panel, step by step. Follow the instructions to associate users and manage databases.
Introduction
- The ISPConfig control panel provides the ability to add MYSQL databases, which we can later associate with users, so they can be used in various applications.
Requirements
- The ISPConfig panel administration data received in the email inbox associated with the Hostico account when the VPS was activated.
Steps to follow
- First, we will connect to the ISPConfig control panel using one of the access addresses: https://NUMESERVER:10200 or https://IP_SERVER:10200 or https://DOMENIU.XX:10200;
- In the interface that will be displayed, enter the username and password received by email upon service activation.

On the main page of the panel, the "Sites" tab will be selected

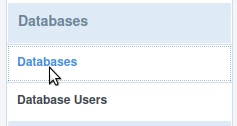
In the next page, select "Databases" from the menu on the left
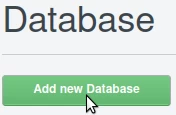
To create a new database, click the "Add new Database" button on the displayed page
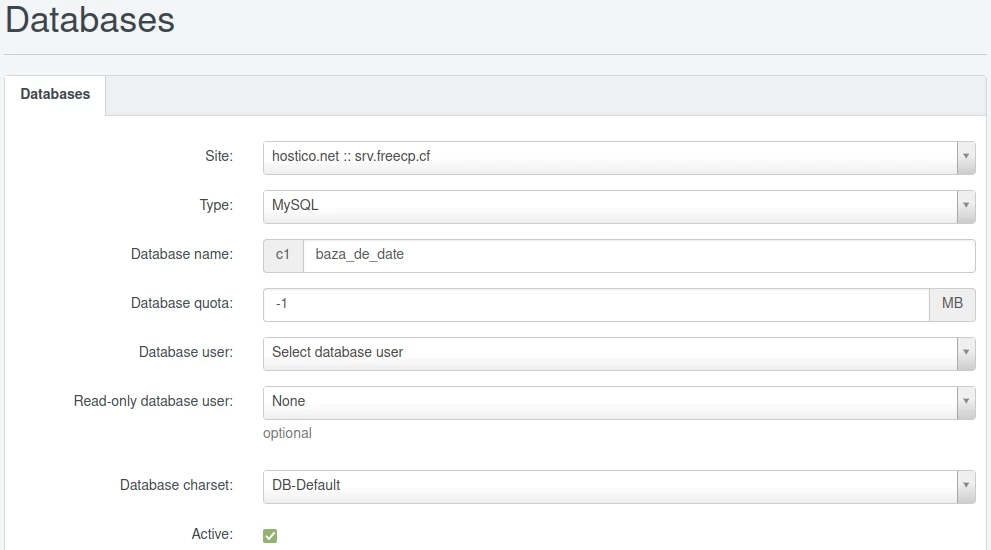
In the next page, the fields will be completed as follows:
-Site: The domain to which the database will be associated will be selected;
-Type: The default database type MySQL will be selected;
-Database name: The database name will be filled in. The name will be automatically prefixed with the text from the gray box on the left of the field. In the example in the image below, the database with the name "c1baza_de_date" will result;
-Database quota: -1 will be left for an unlimited quota or a maximum database size can be set;
-Database user: The created user, who will be allocated to this database, will be selected. MySQL users can be created by following the tutorial Creating a SQL user in the ISPConfig panel;
-Read-only database user: It will remain unchanged;
-Database charset: The desired SQL charset type will be selected. It is recommended to leave it as DB-Default;
-Active Button: It will be checked for the database to be active;
Then click on the "Save" button at the bottom of the page.

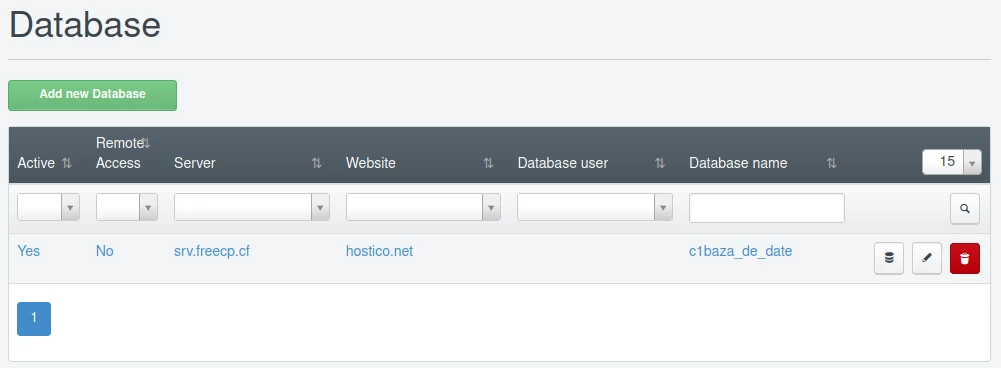
After saving the database, it will appear in the main page of the "Databases" menu, from where it can also be edited or deleted if necessary, by pressing the buttons located to the right of the created database.
Accessing the created database can be done by following the tutorial: Accessing a database in the ISPConfig panel